
Github Pages
什么是 Github Pages
你现在正在浏览的这个网页就是 Github Pages,部署方法很简单,分以下几步:
- 前往 Github 创建仓库,命名为 [$username].github.io - create a repository
- 克隆仓库 - Clone the repository
- 添加 index.html,输入一些内容
- 通过 Git 命令 push 到远端
- 浏览器访问 https://[$username].github.io 即可
需要注意的是,每个 github 账号或组织只能搭建一个站点,但是以上搭建的页面太过简单,基本常用于项目介绍页面。如果要使用博客等功能的话,则需要用到其他工具。比如当前博客,它其实是通过 Jekyll 搭建的。
至于详细怎么搭建的后面有空再写,或者直接参考阮一峰这篇文章也行。现在只是列一些比较容易忘记的名词
Jekyll
Jekyll 是一个简单的静态站点生成器,它支持 Markdown、liquid 模板 和各种插件,因此可以将我们编写的 md 文档转化成一个完整的可发布的静态网站。也就是说,你可以使用 GitHub 的服务来搭建你的项目页面、博客或者网站,而且是完全免费的 😀。
Jekyll 本身是由 Ruby 语言编写的,因此我们要安装 Ruby 环境,这里我们推荐用 rvm 进行版本管理(类似于 node 版本管理工具 nvm 或 n),安装和使用方法直接参考下文,接下来:
# Install Jekyll and bundler gems
gem install jekyll bundler

# Create a new Jekyll site at ./my-awesome-site
jekyll new my-awesome-site

# Change into your new directory
cd my-awesome-site

# Build the site and make it available on a local server
# jekyll serve 动态编译,反之为 jekyll build
bundle install
bundle exec jekyll serve

# Now browse to http://localhost:4000
以上我们可能对一些名词比较生疏,下面做一些简单解释:
Ruby
RubyGems / Gem
RubyGems 是一个 Ruby 包管理器(package manager),通过它我们可以来找、安装、升级和卸载软件包,即 gem 包。RubyGems 将所有的 gem 包安装到 /[ruby root]/lib/ruby/gems/[ver]/ 目录下:
# 查看 RubyGems 软件的版本
gem -v

# 更新所有已安装的 gem 包
gem update

# 更新指定的 gem 包
# 注意:gem update [gemname]不会升级旧版本的包,可以使用 gem install [gemname] --version=[ver]代替
$ gem update [gemname]

# 安装指定 gem 包,程序先从本机查找 gem 包并安装,如果本地没有,则从远程 gem 安装。
gem install [gemname]

# 查看本机已安装的所有 gem 包, local gems
gem list

# 列出远程 RubyGems.org 上有此关键字的 gem 包(可用正则表达式)
gem list -r keyword
Ruby1.9.1 以后的版本自带 RubyGems,需要升级的话直接输入以下命令即可:
gem update --system
Bundler
bundler 是用来解决 gem 之间版本依赖问题的,它可以保证在不同环境中运行时,版本保持一致。首先我们要创建一个 Gemfile 文件:
# 初始化 Gemfile 文件
Bundle init
之后我们需要编辑 Gemfile 文件,指定源和声明一些依赖:
# 指定 rubygems 源,国内也可以换成淘宝地址
source "https://rubygems.org"

# 声明一些依赖
gem 'github-pages'
gem 'rails', '4.1.0.rc2' # 版本号即为 4.1.0.rc2
gem "jekyll", ">= 3.7.4"
gem 'nokogiri', '~> 1.6.1' # 版本号 >= 1.6.1,但 < 1.7.1
然后 bundler 会连接 rubygems.org 源去安装所有符合条件的 gems,包括他们自身的依赖。如果所需要的 gems 已经下载过了,bundler 会直接使用它们。安装完成后,bundler 会将所有 gems 和版本号写入到快照 Gemfile.lock 里:
bundle install # 'bundle' is a shortcut for 'bundle install'

# Fetching gem metadata from https://rubygems.org/.........
# Fetching additional metadata from https://rubygems.org/..
# Resolving dependencies...
# Using rake 10.3.1
# ...
# Installing rails 4.1.0.rc2
# Installing nokogiri 1.6.1
# Your bundle is complete!
# Use `bundle show [gemname]` to see where a bundled gem is installed.
文件结构
一个基本的 jekyll 文件结构如下:
.
├── _config.yml # 配置文件
├── _data # 动态页面中的数据库
|   └── members.yml
├── _drafts # Drafts are unpublished posts
|   ├── begin-with-the-crazy-ideas.md
|   └── on-simplicity-in-technology.md
├── _includes # 代码片段,可通过 include 嵌入
|   ├── footer.html
|   └── header.html
├── _layouts # 包裹在文章外部的模板
|   ├── default.html
|   └── post.html
├── _posts # 文件,命名需要以日期开头
|   ├── 2007-10-29-why-every-programmer-should-play-nethack.md
|   └── 2009-04-26-barcamp-boston-4-roundup.md
├── _sass
|   ├── _base.scss
|   └── _layout.scss
├── _site # 目标文件
├── .jekyll-metadata
└── index.html # can also be an 'index.md' with valid front matter
通过 jekyll 和其他插件或工具,我们还可以完成分页、评论、主题等功能,当然我们也可以用现成的主题 👈
_config.yml
_config.yml 是管理包含全局配置和变量定义在内的配置文件,并且这些变量定义在执行时会被读取,更多变量可以参考这里 👈:
title:            "Tate & Snow"
description:      "Lovely Home"
url:              https://tate-young.github.io # 域名
# 分页
paginate: 15
paginate_path: "blog:num"
plugins: [jekyll-paginate]
...
member.yml
一般情况下,文件结构会包含 _data 目录,即专门用来存放数据。jekyll 的引擎会自动加载在该目录下所有的 yaml 文件(后缀是 .yml, .yaml, .json 或者 .csv )。这些文件可以经由 site.data 访问。如果有一个 members.yml 文件在该目录下,你就可以通过 site.data.members 获取该文件的内容:
<!-- member.yml -->
- name: Tate
- name: Snow
在模板中取值如下:
{ % for member in site.data.member % }
<ul>
  <li>{ { member.name } }</li>
</ul>
{ % endfor % }
- Tate
- Snow
注:这里的
members.yml只是举例用,命名可随意 😯
Front Matter
Front Matter(头信息) 是文件头部的 yaml 配置,它其实是设置文件自有的局部变量,之后可以在文件任何地方使用 liquid 标签来获取这些变量:
---
layout: blog # 会指定使用该模板文件,如 blog.html
title: Blogging Like a Hacker
food: Pizza
---

<h1>{ { page.food } }</h1>
还可以在 _config.yml 中使用 defaults 设置一个路径下 Front Matter 默认值:
<!-- 默认使用 default.html 模板 -->
defaults:
  - values:
      layout: "default"
plugins 插件
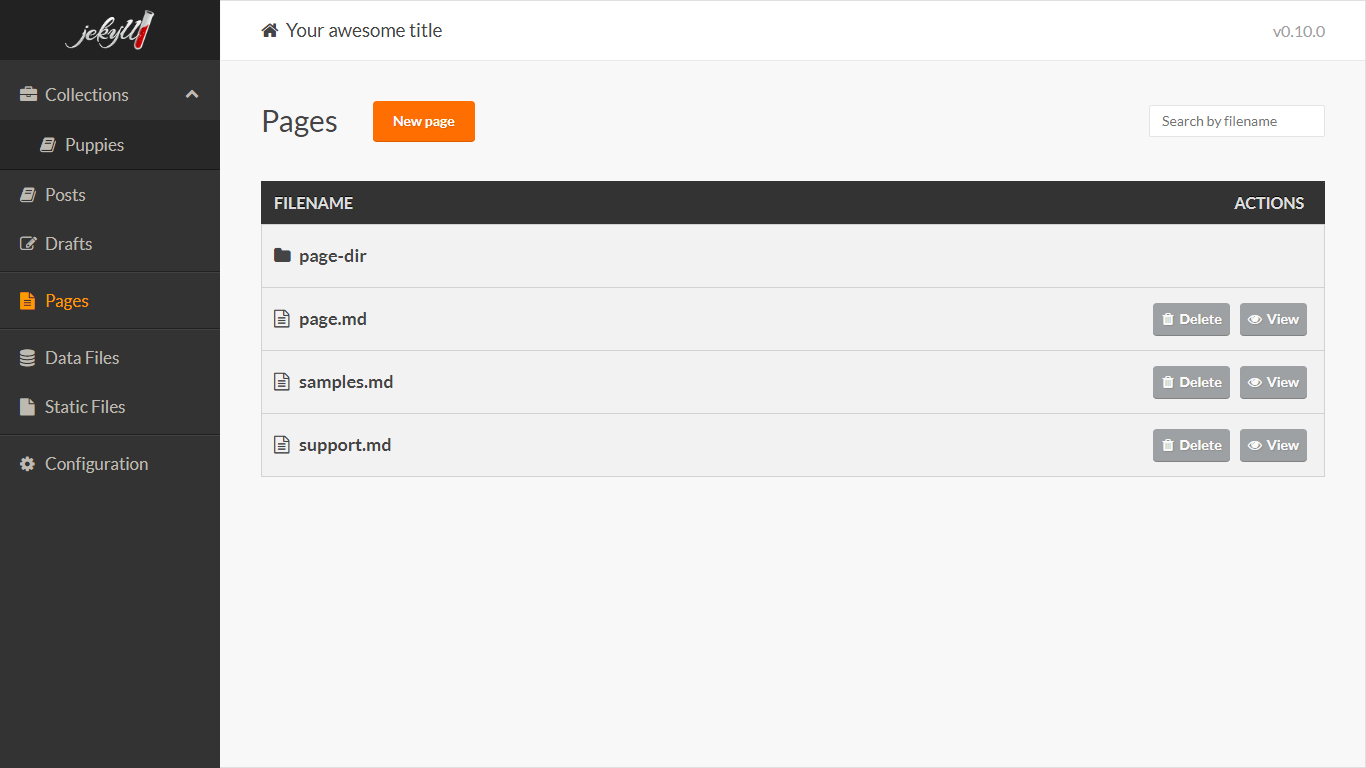
Jekyll Admin
Jekyll Admin 是 CMS(内容管理系统) 风格的图形化后台管理插件,可以在本地给用户提供服务。使用方式很简单:
1、 Add the following to your site's Gemfile
gem 'jekyll-admin', group: :jekyll_plugins

2、Run bundle install
bundle

3、Navigate to http://localhost:4000/admin to access the administrative interface
同时我们可以在 _config.yml 文件中做一些配置:
# 可以选择隐藏哪些链接
jekyll_admin:
  hidden_links:
    - posts
    - pages
    - staticfiles
    - datafiles
    - configuration
Jekyll SEO Tag
Jekyll SEO Tag 可以根据 _config.yml 文件的配置项添加 SEO 标签:
1、 Add the following to your site's Gemfile
gem 'jekyll-seo-tag'

2、 Add plugins to _config.yml
plugins:
  - jekyll-seo-tag

3、Add the following right before </head> in your site’s template
{ % seo % }
完成后我们直接查看元素,添加的 SEO 标签起于 <!-- Begin Jekyll SEO tag v2.5.0 -->,终于 <!-- End Jekyll SEO tag -->。
liquid 模板
liquid 模板引擎也是通过 Ruby 编写的,使用方法可以直接参考官方文档,以下只是简单介绍下:
<!-- Jekyll 预设了 site、layout、page、content 四个全局变量 -->
<!-- 此处 page.title 值其实就是此篇文章的标题,即 "Github Pages" -->
<title>{ { page.title } }</title>
tags create the logic and control flow for templates,即 { % ... % }:
{ % if product.type == "Shirt" and product.title contains "Pack" % }
  This is a pack shirt.
{ % endif % }
for 可以进行遍历:
{ % for product in collection.products % }
  { { product.title } }
{ % else % }
  The collection is empty.
{ % endfor % }
assign 进行赋值,capture 进行捕获赋值:
{ % assign favorite_food = "pizza" % }
{ % assign age = 35 % }

{ % capture about_me % }
I am { { age } } and my favorite food is { { favorite_food } }.
{ % endcapture % }

{ { about_me } }
<!-- I am 35 and my favourite food is pizza. -->
filters 通过使用 “|” 来返回输出的值:
{ { "adam!" | capitalize | prepend: "Hello " } }
<!-- Hello ADAM! -->
rvm
rvm 是 Ruby 的版本管理工具,使用方法如下:
# 安装指定版本
rvm install "ruby-2.3.8"

# 查看当前 ruby 版本和位置
ruby -v
# ruby 2.3.8p459 (2018-10-18 revision 65136) [x86_64-darwin19]
which ruby
# /Users/tate/.rvm/rubies/ruby-2.3.8/bin/ruby

# 列出所有安装 ruby 版本
rvm list
# 列出所有已知 ruby 版本
rvm list known
# 使用已安装的 ruby 版本
rvm use ruby-2.4.6
注意我们安装完后需要重启下 .zshrc 或者 .bashrc 和 .bash_profile 文件,因为里面会写入环境变量:
# 安装 rvm
\curl -sSL https://get.rvm.io | bash -s stable

souce ~/.zshrc
rvm -v
# rvm 1.29.9 (latest) by Michal Papis, Piotr Kuczynski, Wayne E. Seguin [https://rvm.io]
Hexo
Hexo 是一款基于 node.js 的静态博客框架,可以方便的生成静态网页托管在 GitHub 和 Heroku 上。
更多 Hexo 信息可以直接参考官网
参考链接
- 48 个你需要知道的 Jekyll 使用技巧 By David Zhang
- GitHub+Hexo 搭建个人网站详细教程 By 吴润